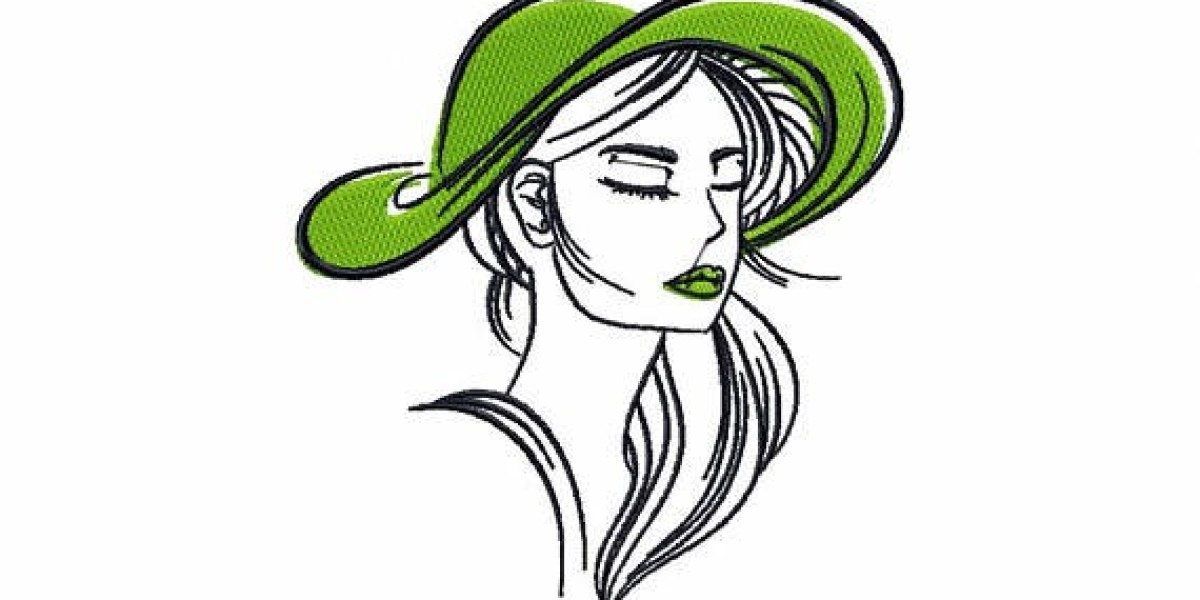
You have a crisp JPG image of your logo, a custom design, or a fun piece of clipart. Your embroidery machine runs on EXP files, a format common in certain commercial and home systems. You know you cannot just drop a JPG into your machine and expect magic. The gap between a pixel-based picture and a stitch-ready file feels wide, but crossing it does not have to hurt. With the right approach, you turn that flat image into a precise, sewn masterpiece. Let us walk through everything you need to successfully convert JPG to EXP format.
What Is an EXP File and Why Does Your Machine Need It?
EXP stands for a stitch data format used by several embroidery machine brands, including Melco and some older Tajima models. Unlike a JPG, which stores color information in a grid of pixels, an EXP file stores stitch-by-stitch instructions. It tells your machine exactly where to plunge the needle, which direction to sew, how dense the stitches should be, when to change colors, and where to trim the thread. Without an EXP file, your machine simply will not move.
The EXP format has been around for years, and many commercial digitizers still use it for its reliability and compatibility. It does not store color information directly, so you will need a separate color sheet. But the trade-off is a lean, efficient file that runs smoothly on a wide range of equipment. Converting your JPG to EXP correctly unlocks professional embroidery results on caps, jackets, bags, and more.
Why You Cannot Simply Change the File Extension
Some beginners think renaming a JPG to EXP will fool the machine. It will not. A JPG contains no stitch data, only pixel values. When you force a direct conversion, you need software that interprets those pixels and decides where to put stitches. This process is called digitizing, and it requires either sophisticated software with auto-digitizing features or a skilled human operator.
Auto-digitizing tools try to guess stitch paths based on color contrast and edge detection. For a simple black-and-white shape, they sometimes produce a usable file. For anything with curves, overlapping colors, small text, or gradients, auto-digitizing almost always fails. You end up with jagged stitch paths, missing details, thread breaks, and puckered fabric. The right way to convert JPG to EXP involves either learning professional digitizing software or hiring an expert.
Three Ways to Convert a JPG to EXP
Let us look at the three main methods available in 2026. Each has pros and cons.
Method 1: Use Auto-Digitizing Software at Home
You can buy embroidery digitizing software that includes auto-digitizing features. Programs like Wilcom, Hatch, or SewWhat-Pro allow you to import a JPG and run an auto-convert function. The software analyzes the image and generates stitch regions. You then manually tweak the stitch angles, underlay, pull compensation, and color sequence. After adjustments, you export to EXP format.
This method gives you control, but the learning curve is steep. Expect to spend dozens of hours learning the software. The programs themselves cost several hundred dollars. For someone who digitizes one or two designs a month, the investment rarely pays off.
Method 2: Use Online Conversion Websites
Several websites offer JPG to EXP conversion for a few dollars. You upload your image, select EXP as output, and download a file minutes later. Behind the scenes, these sites run auto-digitizing algorithms similar to home software.
The results vary wildly. Simple geometric shapes or bold text might sew acceptably. Complex logos with fine details almost always fail. The converters cannot ask about your fabric type, so they use generic settings. You will likely need multiple test sew-outs and manual adjustments. For a one-off personal project, an online converter might work. For anything that represents your brand, avoid this route.
Method 3: Hire a Professional Digitizer
The most reliable and time-efficient method is to hire a professional embroidery digitizer. You send them your JPG, tell them your fabric type and desired stitch size, and they return a perfect EXP file. No software to learn. No frustrating test sews. No wasted materials.
Professional digitizers use advanced software and, more importantly, years of experience. They know how to handle tricky curves, small text, and complex color transitions. They add appropriate underlay for your specific fabric. They set pull compensation so shapes stay true. They also optimize the color sequence to minimize thread trims. The result sews beautifully on the first try.
How to Prepare Your JPG for the Best Conversion
Whether you choose DIY or professional help, preparing your JPG properly improves the outcome. Follow these steps.
Use the highest resolution available. A 300 DPI JPG that is at least 2000 pixels wide gives clear edges to trace. Avoid tiny images pulled from a website or social media.
Remove any background. Erase everything outside your design using photo editing software. A transparent or solid white background only forces the digitizer to guess where your artwork ends.
Simplify your design. Gradients, drop shadows, and glows do not translate well to stitches. Replace gradients with solid colors. Flatten all effects. If your logo has very thin lines (under 1.5 mm), thicken them.
Check text size. Letters smaller than a quarter inch will likely become illegible when stitched. Enlarge the text or choose a bolder font before conversion.
Ensure high contrast. For multi-color designs, make sure each color region has a clear, sharp edge. Fuzzy or anti-aliased edges confuse digitizing software.
Common Mistakes When Converting JPG to EXP
Avoid these pitfalls to save time and frustration.
Ignoring fabric type. An EXP file digitized for heavy denim will pucker on lightweight performance fabric. Always tell your digitizer what material you will sew onto.
Forgetting final size. A design digitized for four inches will not stitch correctly at two inches. Small sizes need different stitch types and densities. Provide exact dimensions.
Skipping the test sew. Even the best digitizer runs a test stitch. Sew your EXP file on a scrap of the actual fabric. Examine for gaps, puckering, or thread breaks. Adjust if needed.
Using a compressed JPG. Compression artifacts create random noise that confuses digitizing algorithms. Save your JPG at maximum quality.
Why EXP Format Still Matters in 2026
You might wonder why anyone still uses EXP when newer formats like DST or PES dominate. EXP files have a loyal following among commercial embroiderers for two reasons. First, they are extremely compact and efficient, making them ideal for older machines with limited memory. Second, they work seamlessly across multiple brands when DST might have compatibility quirks. Many large production houses keep EXP in their workflow because it never surprises them.
Converting JPG to EXP correctly preserves this reliability. A well-digitized EXP file runs at full speed without thread breaks or skipped stitches. That consistency keeps your production line moving and your customers happy.
Step-by-Step Workflow for Professional Conversion
If you decide to hire a professional, here is what the process looks like.
Step 1: Gather your artwork. Provide the highest quality JPG you have. If possible, also supply a vector file or a clear printout as a reference.
Step 2: Answer questions. The digitizer will ask about fabric type, final stitch size, machine brand, and thread preferences. Answer thoroughly.
Step 3: Approve a digital proof. The digitizer sends a simulated stitch preview. Review it for any obvious issues like missing elements or wrong colors.
Step 4: Receive your EXP file. After approval, the digitizer delivers the file along with a color sequence sheet. Load it onto your machine.
Step 5: Test sew. Always run one test on your actual fabric. If everything looks correct, start production. If not, request a revision.
Most professional digitizers include one free revision. Use it if needed.
Why Needle Digitizing Is the Right Choice for EXP Conversion
When you want a hassle-free, high-quality conversion from JPG to EXP, Needle Digitizing delivers. Their team has deep experience with EXP format and commercial embroidery machines. They ask the right questions about your fabric and design, providing a digital proof and offering revisions until you are completely satisfied. They also maintain your files in a library, so reorders happen instantly. For businesses that cannot afford production delays or poor stitch quality, Needle Digitizing provides the expertise you need.
Testing Your EXP File Before Full Production
Never run a large batch of a new EXP file without testing. Hoop a piece of the actual fabric. Run the design. Look for gaps between fill and border, puckering, thread breaks, or misregistered colors. If you see any issue, contact your digitizer with a photo. Most professionals will adjust the file at no extra charge. Keep a log of successful settings for each fabric type. Over time, you will build a reference library that speeds up future jobs.
Conclusion
Converting a JPG to EXP format does not have to be a headache. You have three paths: learn auto-digitizing software, use an online converter, or hire a professional. Auto-digitizing costs time and money. Online converters deliver unreliable results. Professional digitizing gives you a perfect EXP file quickly and affordably. Start with a clean, high-resolution JPG. Know your fabric and final size. Always test before full production. And when you need reliable results, trust a professional who understands the EXP format. Your machine, your thread, and your customers will all thank you. Now you know exactly how to convert JPG to EXP format.