The quality of embroidery begins long before a machine starts stitching. Artwork preparation plays a major role in how accurately a design can be digitized and embroidered. Even skilled digitizing cannot fully correct poor or unclear artwork. Proper preparation ensures that custom embroidery digitizing produces clean, consistent, and reliable results.
Understanding how to prepare artwork correctly helps businesses, designers, and embroidery shops reduce revisions and improve production efficiency.
Why Artwork Preparation Matters in Embroidery Digitizing
Embroidery machines rely on digitized stitch files that interpret artwork into thread movements. If the original artwork lacks clarity, proper proportions, or clean edges, the digitizing process becomes more complex and less predictable.
Well-prepared artwork allows digitizers to focus on stitch planning instead of correcting design flaws. This leads to better embroidery accuracy and fewer adjustments during production.
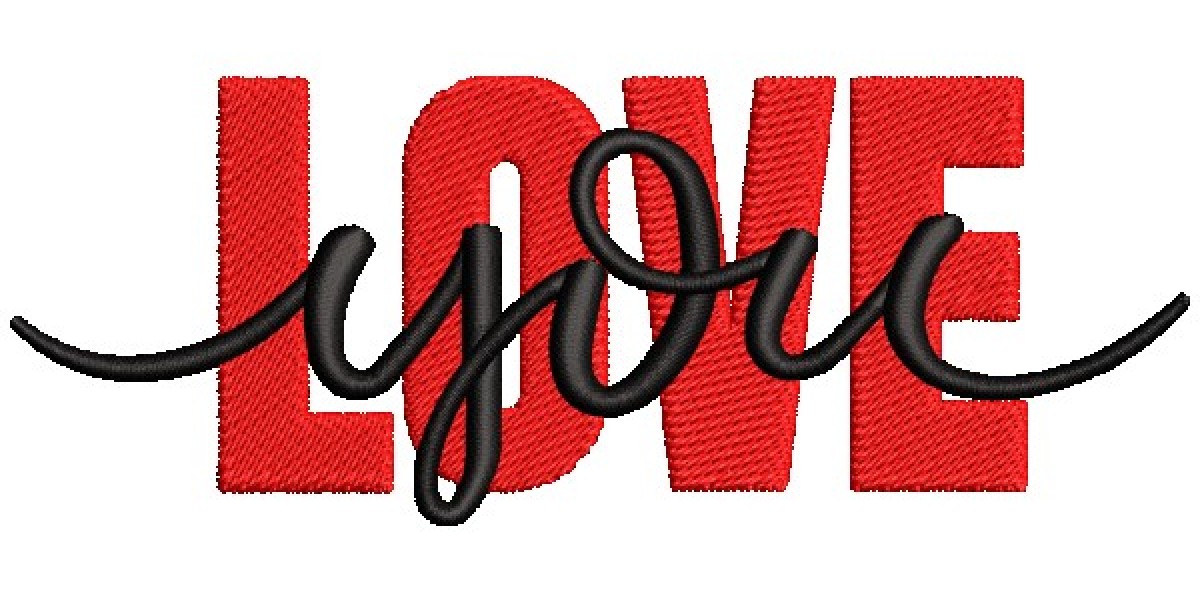
Use High-Quality Artwork Files
Clear and high-resolution artwork improves digitizing accuracy. Blurry images or low-resolution files can cause guesswork when defining shapes, outlines, and text.
Vector files are ideal because they maintain sharp edges at any size. If vector files are unavailable, high-resolution raster images with clear contrast should be provided to support accurate digitizing.
Simplify Complex Design Elements
Highly detailed artwork may look good on screen but can create challenges in embroidery. Fine lines, small text, and overlapping elements may not stitch cleanly, especially on certain fabrics.
Preparing artwork with embroidery in mind involves simplifying unnecessary details. Reducing excessive textures and limiting tiny elements helps ensure that the design remains readable and balanced after stitching.
Ensure Proper Line Thickness and Spacing
Thin lines and tight spacing can disappear or merge during embroidery. Artwork should include sufficient spacing between elements to allow for stitch placement and fabric movement.
Clear outlines and balanced spacing help digitizers assign appropriate stitch types and density. This preparation reduces the risk of filled-in details or uneven stitching.
Choose Suitable Colors for Embroidery
Thread colors behave differently than printed colors. Gradients, shadows, and color blends in artwork do not translate directly into embroidery.
Artwork should use solid colors that can be matched to thread shades. Limiting the number of colors also improves stitch efficiency and reduces production complexity.
Consider the Final Garment and Fabric
Artwork preparation should account for where and how the design will be embroidered. Placement size, fabric type, and garment structure all influence digitizing decisions.
Providing details about the intended garment helps digitizers plan stitch direction, density, and underlay more effectively. This information leads to embroidery that performs well during production.
Avoid Automatic Effects and Filters
Graphic effects such as shadows, glows, or textured fills often cause confusion during digitizing. These effects are designed for print or digital display, not stitching.
Removing unnecessary effects from artwork allows digitizers to interpret the design clearly and apply embroidery-appropriate stitch techniques.
Provide Accurate Size and Placement Information
Design size affects stitch count, density, and overall structure. Without accurate sizing, digitizers may create files that do not perform as expected.
Providing exact dimensions and placement guidelines helps ensure that the digitized design fits the intended area and stitches consistently.
Communicate Design Priorities Clearly
Clear communication reduces revisions and misunderstandings. Indicating which elements are most important helps digitizers focus on maintaining critical details.
Notes about preferred stitch styles, text readability, or logo proportions provide valuable guidance during the digitizing process.
Conclusion
Proper artwork preparation is essential for successful custom embroidery digitizing. Clear files, simplified designs, and accurate information allow digitizers to focus on stitch quality instead of corrections.
By preparing artwork with embroidery requirements in mind, businesses and designers can achieve consistent, professional results while reducing production issues and revision time.
FAQs About Artwork Preparation for Embroidery Digitizing
What file format is best for embroidery digitizing?
Vector formats are preferred, but high-resolution raster files can also be used if they are clear.
Can digitizers fix poor-quality artwork?
Digitizers can make adjustments, but poorly prepared artwork often limits the quality of the final embroidery.
Should artwork be prepared differently for embroidery than print?
Yes. Embroidery requires simpler designs and solid colors for reliable stitching.
Does artwork size affect embroidery quality?
Yes. Size influences stitch density and detail visibility.