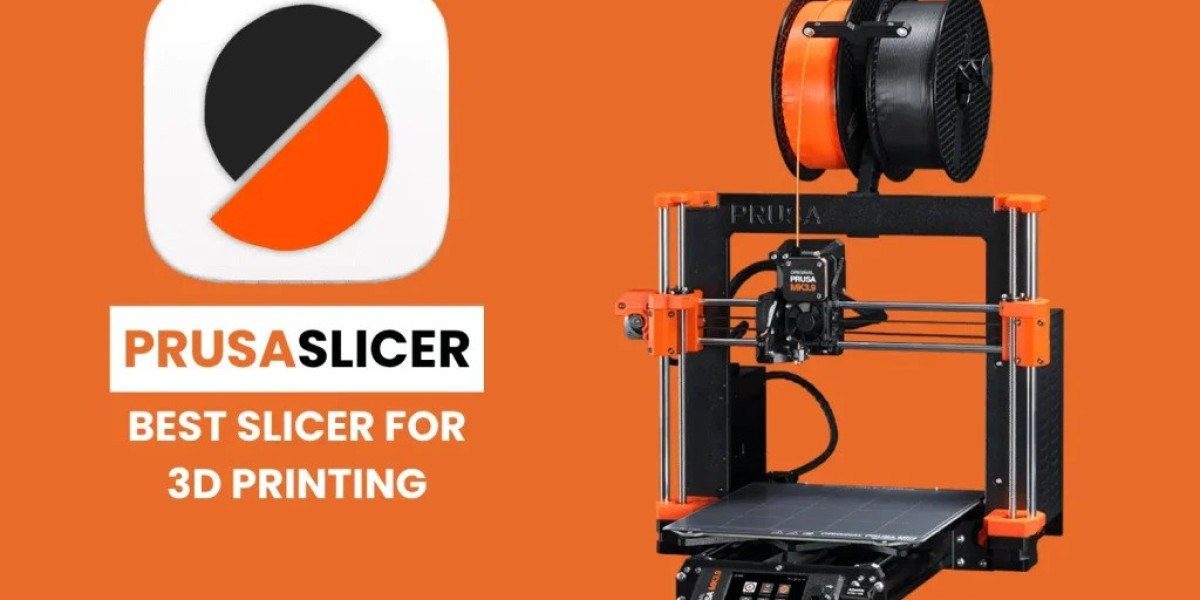
PrusaSlicer is widely celebrated as the best open-source slicing software in the 3D printing community, and for good reason . Renowned for its powerful features and user-friendly interface, it consistently receives updates that push the boundaries of print quality, such as the new "Consistent Surface" option which dramatically reduces printing artifacts for smoother finishes . Beyond its advanced capabilities in optimizing print speed and structural integrity, PrusaSlicer excels at empowering users to personalize their creations directly within the software .
One of the most fantastic and accessible tools for customization is the built-in text function. Whether you are creating a personalized nameplate, adding serial numbers to functional parts, or embossing a logo, PrusaSlicer makes the design process seamless and intuitive. You don't need to be a CAD expert to add lettering; the software handles it beautifully. A common question we hear from beginners is how to add text in Prusa Slicer. Fortunately, the developers have made this process incredibly straightforward, ensuring that anyone can enhance their prints with professional-looking labels .
So, let's dive into the simple steps of how to add text in Prusa Slicer. To get started, simply select the model you wish to modify and press the T key on your keyboard. This shortcut instantly opens the text tool. Alternatively, you can right-click on the model and navigate through the context menu to Add part and then select Text . Once the text box appears, you can type your desired word or phrase and customize it extensively. A major positive aspect is the tool's integration with your computer's font library—any TrueType Font (TTF) on your system is available to use, giving you endless typographic possibilities .
The customization doesn't stop at fonts. You have full control over the text's height and depth, and crucially, you can decide whether the text is embossed (added to the surface) or debossed (subtracted/cut into the surface) by simply toggling between "Added" or "Subtracted" in the context menu . Positioning your text is a dream, as you can simply drag it across the model's surface. For more complex geometries, you can even enable the "Use surface" option in the advanced menu to make the text perfectly curve along non-planar or curved surfaces, ensuring a flawless finish every time .
Finally, PrusaSlicer enhances your workflow with features like text presets, allowing you to save your favorite font styles and settings for consistent branding across multiple projects . From its continuously improving print quality algorithms to its approachable design tools, PrusaSlicer proves time and again that professional-grade 3D printing should be both powerful and accessible. So go ahead, hit that T key, and start adding your personal mark to the world.