A properly painted ceiling brightens a room, improves light reflection, and enhances overall interior appeal. For homeowners considering Ceiling painting Lake Forest, CA, following a structured, step-by-step process ensures smooth coverage, minimal mess, and long-lasting results. From surface preparation to final coat inspection, each stage plays a critical role in achieving a professional finish.
Key Takeaways
Preparation is the most important step in ceiling painting.
Proper primer and ceiling-grade paint improve durability.
Correct roller techniques prevent streaks and lap marks.
Professional painters ensure consistent texture and clean edges.
Ceilings in Lake Forest homes often experience discoloration from coastal humidity, cooking residue, and HVAC airflow. Over time, stains, hairline cracks, and faded flat paint reduce visual appeal. A methodical approach restores brightness while protecting drywall and textured surfaces.
Professional painters understand local climate conditions and how they affect drying time, adhesion, and finish consistency. Their expertise ensures clean lines, even application, and minimal disruption to the home.
Preparing the Ceiling Surface
Preparation determines the quality of the final result. Skipping this step leads to peeling paint, visible stains, and uneven coverage.
Start by clearing furniture and covering floors with drop cloths. Remove light fixtures or ceiling fans if possible. Next, clean the surface using a mild solution to eliminate dust and grease buildup. In kitchens, grease accumulation can interfere with paint adhesion.
Inspect for cracks or nail pops. Use lightweight spackle to fill imperfections, then sand smooth once dry. For textured ceilings, gentle sanding ensures consistent surface texture without flattening patterns.
Essential Preparation Checklist
Cover floors and furniture with protective sheeting
Clean surface to remove dust and residue
Repair cracks and sand uneven spots
Apply painter’s tape along wall edges
According to home improvement data, nearly 65% of visible paint flaws stem from inadequate surface preparation. Investing time upfront prevents costly repainting later.
Choosing the Right Paint and Tools
Selecting ceiling-specific paint makes a noticeable difference. Ceiling paints are typically flat or matte finishes, designed to reduce glare and hide imperfections.
Product Type | Purpose | Benefit |
|---|---|---|
Ceiling Flat Paint | Standard ceiling application | Minimizes reflection and streaking |
Stain-Blocking Primer | Covers water or smoke stains | Prevents bleed-through |
High-Quality Roller (⅜–½ nap) | Even paint distribution | Reduces splatter and lap marks |
Angled Brush | Cutting in edges | Creates clean wall transitions |
Lake Forest homes often feature vaulted ceilings or textured finishes. In such cases, using an extension pole improves reach and ensures consistent roller pressure.
Premium acrylic latex paint also improves moisture resistance, especially in bathrooms where condensation is common.
Step-by-Step Ceiling Painting Process
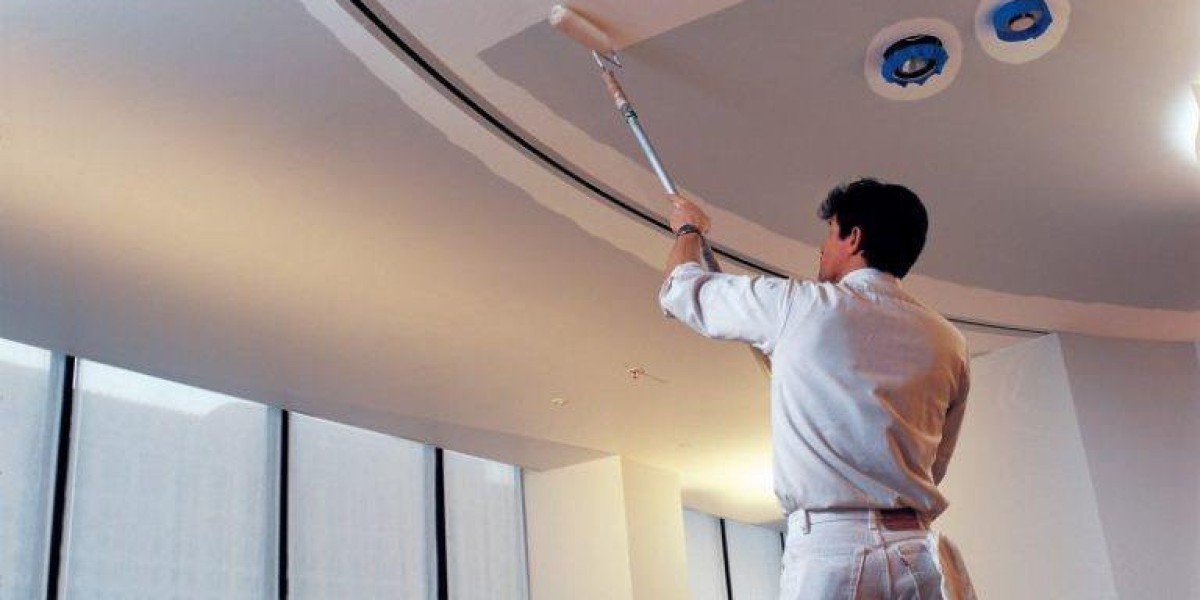
Applying ceiling paint requires steady technique and careful sequencing. Professional painters typically follow this order to achieve uniform coverage.
Step 1: Prime the Surface
If stains or repairs are present, apply a stain-blocking primer. This creates a consistent base and prevents discoloration from showing through.
Step 2: Cut in the Edges
Use an angled brush to paint along wall edges and corners. Cutting in first ensures seamless blending when rolling the main surface.
Step 3: Roll in Sections
Roll paint in overlapping “W” patterns to distribute evenly. Maintain a wet edge to avoid visible lines. Work in manageable sections to prevent drying inconsistencies.
Step 4: Apply Second Coat
Most ceilings require two coats for full coverage. Allow adequate drying time between coats based on manufacturer guidelines and local humidity levels.
Professional Application Techniques
Roll perpendicular to natural light sources
Avoid overloading the roller to reduce drips
Keep consistent pressure for uniform texture
Allow full drying before reinstalling fixtures
Interior painting professionals report that applying two thin coats produces better durability than one thick coat.
Factors to Consider Before Painting
Before starting a ceiling painting project, homeowners should evaluate several important factors. Ceiling height plays a role in safety and equipment needs. High or vaulted ceilings may require scaffolding rather than standard ladders.
Ventilation is another consideration. While modern paints have low VOC levels, proper airflow speeds drying and reduces odor.
Homeowners should also consider the condition of existing paint. If peeling or flaking occurs, full scraping and priming are necessary before repainting.
Common Ceiling Painting Challenges
Ceiling projects present unique challenges compared to wall painting. Gravity increases splatter risk, and lighting can exaggerate minor flaws. One common issue is roller marks. These appear when sections dry unevenly or pressure varies during application. Maintaining a steady pace prevents this problem. Another challenge involves textured ceilings. Uneven paint absorption can cause patchiness. Using the correct nap roller ensures full coverage across textured surfaces.
Humidity levels in Lake Forest can also influence drying time. Painting during mild weather conditions helps achieve smoother results.
Cost and Market Insights
Interior ceiling painting costs vary depending on room size, ceiling height, and surface condition. National averages range between $1 and $2.50 per square foot, though vaulted ceilings may increase labor costs.
If your Lake Forest home needs expert ceiling painting, Streamline Painting & Coatings delivers precision, efficiency, and lasting quality. Their experienced team handles preparation, priming, and flawless finishing for ceilings of all heights and textures. Whether refreshing a single room or upgrading your entire interior, they provide dependable service tailored to your needs. Contact Streamline Painting & Coatings today for professional results that elevate your living space.
Frequently Asked Questions
How often should ceilings be repainted?
Most ceilings require repainting every five to seven years. High-moisture areas such as bathrooms may need more frequent updates due to humidity exposure.
Is ceiling paint different from wall paint?
Yes. Ceiling paint typically has a flatter finish to reduce glare and conceal imperfections. It is also formulated to minimize drips during overhead application.
Can they paint over water stains without primer?
No. Water stains often bleed through regular paint. A stain-blocking primer is necessary to seal discoloration before applying the topcoat.
How long does ceiling paint take to dry?
Drying time varies by humidity and paint type. Most latex ceiling paints dry to the touch within one hour but require several hours before recoating.
Should homeowners hire professionals for ceiling painting?
High ceilings, textured surfaces, and large rooms often benefit from professional expertise. Professionals ensure consistent finish quality and maintain safety standards.
Conclusion
Ceiling painting transforms interior spaces by improving brightness, cleanliness, and overall aesthetic appeal. By following a step-by-step approach—preparing surfaces, selecting proper materials, and applying paint methodically—homeowners can achieve professional-level results. Climate considerations, texture variations, and proper equipment all influence success.