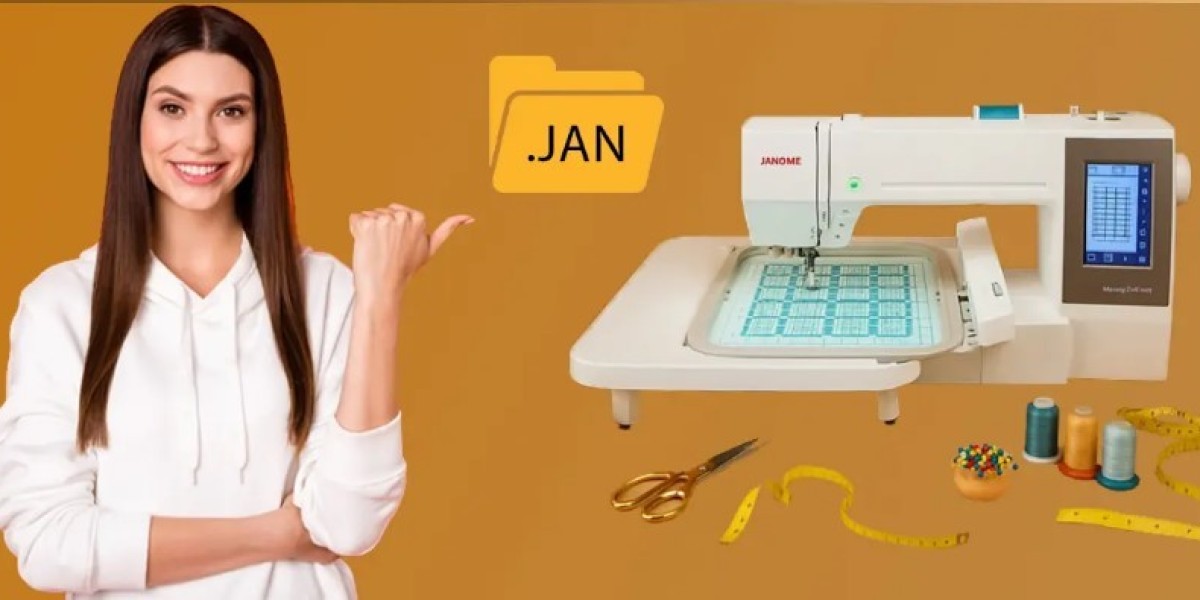
Embroidery is a fun way to turn art into thread on fabric. Many people start with a simple picture. It may be a logo, a drawing, or a small icon. But a picture file is not ready for a Janome embroidery machine. The machine needs a stitch file. This file tells the machine where to place each stitch.Many beginners look for ways to Convert image to JAN Embroidery File so their design can run on a Janome machine.
This step is called digitizing. It means turning artwork into stitch paths that a machine can follow. When done the right way, the result is a clean and smooth embroidery design.In this guide, you will learn easy tips for preparing artwork for Janome machine stitching. The steps are simple. The words are clear. Even new learners can follow this guide and understand the process.
What Is Janome Embroidery Stitching?
Janome is a well-known name in the embroidery world. Many home and small business users trust Janome machines.
These machines read stitch files. They do not read normal image files like JPG or PNG.
How Janome Machines Work
A Janome embroidery machine moves the needle based on stitch data.
The stitch file tells the machine:
Where the stitch starts
Where the stitch ends
When to change thread color
When to trim the thread
This information helps the machine create the design on fabric.
Why Artwork Must Be Prepared Before Stitching
A simple picture may look perfect on a screen. But embroidery works in a different way.
Images Use Pixels
Image files are made of pixels. Pixels are tiny dots of color. These dots form the picture we see.
Embroidery machines do not understand pixels.
Machines Use Stitch Paths
Embroidery machines follow stitch lines. These lines tell the machine how the thread moves.
Because of this, artwork must be turned into stitch paths before embroidery begins.
Preparing artwork is the first step to good results.
Tools Needed to Prepare Artwork
Before you begin the process, you need the right tools.
Digitizing Software
Digitizing software helps turn artwork into stitch files.
Common features include:
Importing image files
Drawing stitch paths
Choosing stitch types
Setting stitch density
Adjusting stitch direction
This software is the main tool used in embroidery digitizing.
Clean Artwork
A clean image makes the job easier.
Use an image with:
Clear lines
Strong shapes
Few colors
Complex images take more time to digitize.
Basic Embroidery Knowledge
You do not need to be an expert. But basic knowledge helps.
It is good to know common stitch types and how they behave on fabric.
Steps to Prepare Artwork for Janome Embroidery
Preparing artwork takes a few clear steps. Each step helps improve the final stitch quality.
Step 1: Choose the Right Artwork
Start with a simple design.
Logos and icons work best. They usually have bold shapes and clear lines.
Good Artwork Features
Good embroidery artwork should have:
Thick lines
Clear shapes
Simple colors
Avoid images with too many tiny details.
Small details may not stitch well on fabric.
Step 2: Clean the Artwork
Before digitizing, clean the image.
This step helps remove problems that can affect stitching.
Simple Image Cleaning Tips
You can use graphic software to prepare the design.
Try these steps:
Remove extra background
Adjust brightness and contrast
Sharpen the lines
Reduce too many colors
Clean artwork helps the digitizing process move faster.
Step 3: Import the Image into Digitizing Software
Now open your embroidery digitizing program.
Import the artwork file.
The image will appear on the workspace.
Why This Step Is Important
The software does not convert the image automatically.
Instead, the image acts as a guide.
You will trace the shapes to create stitch paths.
Step 4: Trace the Design
This is the main digitizing step.
You will trace each shape in the artwork.
Manual Digitizing
Manual tracing gives better results.
Automatic tools may create messy stitches.
Manual digitizing lets you control:
Stitch type
Stitch direction
Stitch density
Because of this control, manual work often produces cleaner designs.
Step 5: Choose the Right Stitch Types
Different parts of the design need different stitch styles.
Common Stitch Types
Satin Stitch
Satin stitch works well for text and borders.
It creates smooth and shiny thread lines.
Fill Stitch
Fill stitch covers large shapes.
It fills space with rows of stitches.
Running Stitch
Running stitch works well for outlines and light details.
Each stitch type serves a different purpose.
Choosing the right one improves the final look.
Step 6: Set Stitch Direction
Stitch direction changes the way thread flows across the design.
This step helps the design look neat and balanced.
Why Stitch Direction Matters
Good stitch direction can:
Improve texture
Reduce fabric pull
Make shapes look smooth
Changing the direction slightly can improve the design.
Step 7: Adjust Stitch Density
Density controls how close stitches are placed.
High Density
More stitches are packed together.
This creates strong coverage.
But too many stitches can make the fabric stiff.
Low Density
Fewer stitches are used.
This keeps fabric soft.
But very low density may leave gaps.
A balanced setting gives the best result.
Step 8: Add Underlay Stitches
Underlay stitches sit under the main stitches.
They support the top layer of thread.
Purpose of Underlay
Underlay helps:
Stabilize fabric
Improve stitch quality
Keep shapes clean
Common underlay types include:
Edge run
Zigzag
Center run
These stitches act like a foundation for embroidery.
Step 9: Plan the Stitch Order
Stitch order means the path the machine will follow.
Planning the order improves efficiency.
Benefits of Good Stitch Order
Good stitch order helps:
Reduce thread jumps
Reduce trims
Prevent fabric puckering
Most digitizers stitch from the center outward.
This keeps the design stable.
Step 10: Run a Stitch Simulation
Most digitizing programs include a preview tool.
This tool shows how the machine will stitch the design.
What to Watch in the Preview
Look for problems such as:
Long jump stitches
Stitch gaps
Overlapping thread
Fix any issues before saving the final file.
Step 11: Save the Design for Janome Machines
After checking the design, export the stitch file.
Select the format supported by Janome machines.
The file now contains stitch commands for embroidery.
Testing the Design on Fabric
Never skip testing.
Testing is one of the most important steps.
Run a Sample Stitch
Load the design into your embroidery machine.
Use scrap fabric first.
This helps check how the stitches behave.
Check the Final Result
Look closely at the sample.
Check for:
Thread breaks
Uneven stitches
Gaps in fill areas
If problems appear, adjust the design in the software.
Testing saves time and materials.
Common Problems in Embroidery Digitizing
Even experienced digitizers face problems sometimes.
Learning from these mistakes helps improve results.
Too Many Small Details
Tiny shapes are hard to stitch.
Simplify the design when possible.
Poor Quality Artwork
Low-quality images create poor stitch results.
Always start with clear artwork.
Wrong Stitch Density
Too many stitches make fabric stiff.
Too few stitches create gaps.
Balance is important.
Ignoring Fabric Type
Different fabrics behave differently.
Stretch fabrics need special care.
Always choose the right stabilizer.
Helpful Tips for Better Embroidery
Small tips can make a big difference.
Keep Designs Simple
Simple designs stitch faster and look cleaner.
Limit Thread Colors
Too many color changes slow down production.
Use only the colors needed.
Always Test the Design
Testing helps catch mistakes early.
A quick sample stitch can save time later.
Practice Often
Digitizing improves with practice.
Each project teaches something new.
Why Professional Digitizing Can Help
Many businesses prefer expert digitizing services.
Professional digitizers have years of experience.
They understand:
Stitch behavior
Fabric types
Machine limits
This knowledge helps produce high-quality designs.
A trusted provider like Embroidery Digitizing Services in USA - Digitizing Buddy offers skilled digitizing for logos and artwork.
Their team prepares stitch files that run smoothly on embroidery machines.
Many embroidery businesses rely on Embroidery Digitizing Services in USA - Digitizing Buddy for accurate and clean digitizing work.
Final Thoughts
Preparing artwork for Janome machine stitching takes planning and care.
The process starts with a clean design. Then the artwork is traced and converted into stitch paths. Stitch types, direction, and density must be set correctly. Finally, the design must be tested before production.
With practice, this process becomes easier.
Each design teaches new lessons about stitches and fabric.
If you want reliable and professional digitizing help, Embroidery Digitizing Services in USA - Digitizing Buddy can assist with creating high-quality stitch files for embroidery machines.
Embroidery is both art and skill. When the design is prepared correctly, the final stitched result looks clean, strong, and professional.