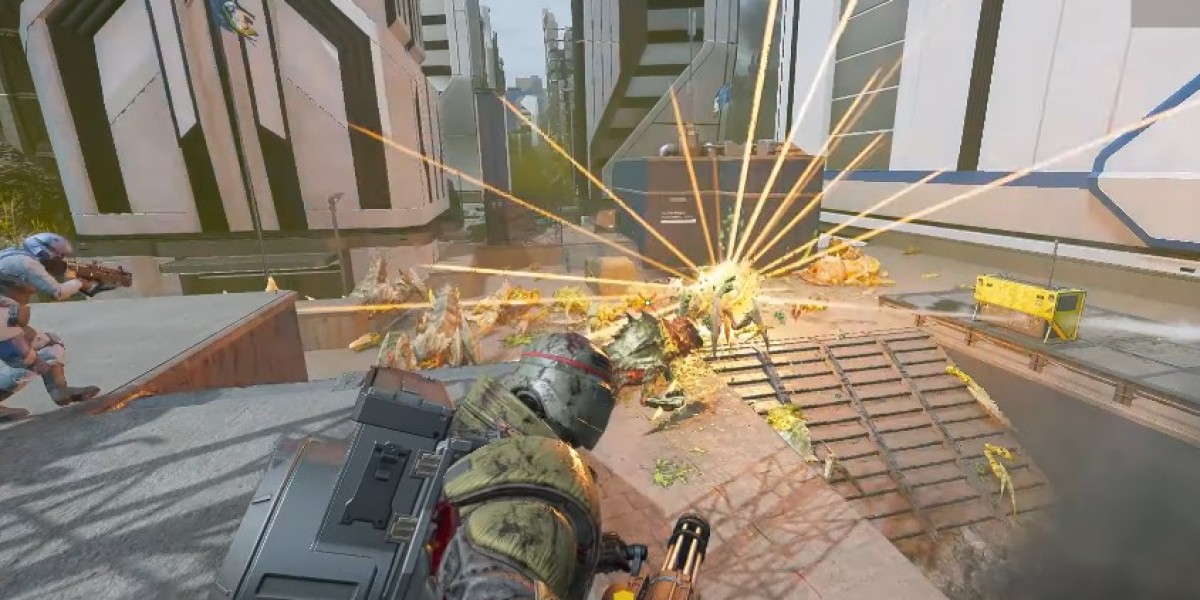
Helldivers 2 continues to push the boundaries of cooperative twin-stick shooters, offering intense urban combat scenarios that challenge even the most seasoned players. Recently, I had the chance to dive deep into a particularly chaotic city mission using a juggernaut loadout. After several close calls and a ton of explosions, I wanted to share a detailed breakdown of my experience, strategies, and tips for fellow players tackling similar missions.
Choosing Your Battlefield
One of the first things I noticed is how urban maps can be a double-edged sword. On the one hand, tight streets and buildings provide plenty of cover. On the other, enemies can spawn from virtually any direction, creating unpredictable swarms. My strategy started with picking a solid initial position near a broadcast station—these points often provide quick objectives that save time compared to waiting on evac missions.
Setting up a rocket sentry in a central street proved invaluable. While I initially underestimated the sheer number of bugs, having a sentry covering the main approach allowed me to focus on clearing special units like shriers, alpha commanders, and occasional Titans without constantly worrying about the main horde. A small tip: always consider the line of sight and potential escape routes before deploying heavy equipment. It can make the difference between a chaotic retreat and controlled suppression.
Equipment and Loadout Insights
For urban missions, gas grenades and anti-tank mines are absolute lifesavers. Gas grenades are particularly useful for spreading enemy clusters, preventing them from stacking and wasting ammunition. I also found that using the assault rifle with iron sights offered better ergonomics than a 2x scope, which is crucial when precision and rapid reaction are required. Meanwhile, stims were essential for sustaining my juggernaut in prolonged firefights, especially during multiple bug breaches.
One thing to note: if you’re short on resources, platforms like U4GM allow players to conveniently buy Helldivers 2 medals, which can help unlock additional gear faster. This was especially helpful for setting up extra rocket sentries and resupplies without slowing the mission pace.
Managing Waves and Objectives
In urban environments, objectives can be spread out and often coincide with enemy concentrations. During this run, I faced multiple broadcasting stations, bug nests, and civilian evac points. The key was prioritization:
Complete smaller objectives quickly to free up time for high-threat areas.
Constantly relocate your sentries and resupply drops to adapt to incoming waves.
Use gas grenades strategically to separate enemies, ensuring your weapons and equipment maximize effectiveness.
Keep an eye on Titans and spore chargers—they can quickly turn a controlled fight into chaos.
Interestingly, even with heavy armor, movement limitations forced me to plan my path carefully. A juggernaut can take a lot of damage, but poor positioning quickly negates that advantage. Listening for audio cues and keeping your head on a swivel is vital—enemies often appear from unexpected corners or underground burrows.
Coordinating Civilians and Team Members
While handling waves, don’t forget about civilians. Even a few well-timed rescues can dramatically improve your mission score. I noticed that having SE troopers or AI allies positioned near high-priority areas allowed them to pick off weaker enemies while I focused on tougher threats. Patience is key here—sometimes holding a position for a few extra seconds is safer than rushing, especially when multiple breaches and ion storms occur simultaneously.
For those looking to accelerate their resource gains, buy Helldivers 2 super credits from trusted sources can make managing equipment and resupplies much smoother. This ensures you always have the tools necessary to tackle late-game swarms without feeling underpowered.
After a grueling 45-minute session, the juggernaut loadout shone in urban combat. Despite a few close calls, only one death occurred, and I managed over 1,380 kills with more than 13,000 shots fired—proof that with the right strategy, heavy armor can dominate even the busiest city streets. Key takeaways include positioning your sentries smartly, managing resupplies efficiently, and making strategic use of gas grenades and stims.
Overall, Helldivers 2’s urban missions are intense but incredibly rewarding for players willing to plan ahead and coordinate resources effectively. Whether you’re focusing on solo efficiency or team synergy, understanding enemy behavior and map layout is half the battle. For juggernaut enthusiasts, these strategies can turn a chaotic city mission into a controlled and devastating offensive.
All the Details: Top 5 Hardest Missions in Helldivers 2