
A good soot sponge is one of the few cleaning tools that works best when you resist the urge to scrub. That runs against instinct, which is exactly why so many first-time smoke cleanups go sideways.
Smoke and soot respond far better to a slower, staged approach.
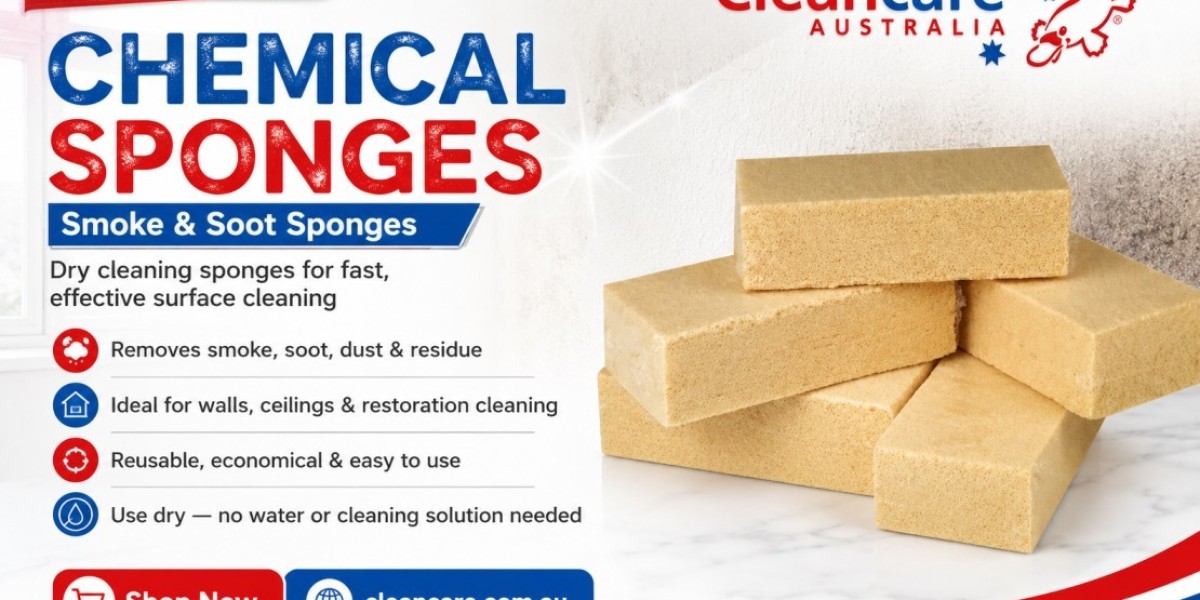
For light, dry surface residue, a specialised dry sponge earns its place in that first stage. It isn't a scaled-up kitchen sponge — it's built to collect fine particles while used completely dry, before any water enters the picture.
If you've never picked one up before, the whole game is restraint: test the surface, move slowly, and don't let the cleaning face clog with soot. Get those three habits right and the rest follows.
Here's how to approach your first smoke cleanup with some confidence.
What Exactly Is a Dry Cleaning Sponge?
A dry cleaning sponge is a purpose-made tool for lifting loose smoke, soot, dust and other fine deposits off a surface.
The name matters. Despite it, this is nothing like the sponge sitting by your sink.
The detail beginners most often miss is that the first pass happens dry — no soaking, no cleaning solution. You use it as-is.
There's a reason for that. Wetting fine soot too early can turn a controllable dry deposit into a smear that's much harder to manage.
Surfaces people typically reach for a dry sponge on include:
Painted walls
Ceilings
Some wall coverings
Panelling
Other suitable surfaces carrying light smoke residue
How well it works comes down to the material and how heavy the contamination is — which is exactly why a quick test on a hidden patch is never wasted effort.
Why Is Smoke Residue So Awkward to Remove?
It comes down to particle size. Soot is extraordinarily fine.
Those particles cling loosely and lift onto anything that touches them — including your cloth, glove or sponge. Rub a dark patch too hard and you're not removing soot so much as relocating it into the clean wall around it.
That's why the cleaning routines that work on everyday grime tend to backfire here.
Faced with a dirty wall, most people default to the same script:
Wet a cloth.
Add cleaner.
Scrub.
Repeat until the mark's gone.
With soot, that script produces streaks and grey halos.
A better opening move is simple: lift the loose stuff off first, gently, while it's still dry.
When Does a Dry Sponge Actually Make Sense?
Reach for one when you're dealing with manageable surface residue — not the aftermath of a serious structural fire.
Situations that suit it well:
Light soot on a painted wall
Smoke shadowing near a fireplace
Fine residue across a ceiling
Marks left by a small smoke incident
Dry, dust-like deposits on suitable surfaces
What it isn't is a universal fix for every fire or smoke scenario.
Widespread contamination, charred or damaged building materials, mystery residues, electrical damage or heavy fire damage all point toward professional restoration rather than a DIY afternoon.
Size up the situation honestly before you start.
Set Up the Area First
Because soot travels so easily, a few minutes of prep saves a lot of secondary mess.
Clear or cover anything nearby you can.
Worth shielding:
Flooring
Furniture
Benchtops
Skirting boards
Nearby decorative pieces
Clean surfaces right beside the affected zone
Try not to drag dirty tools or gloves across untouched areas as you move around.
Cleaning a whole room? Work through it section by section rather than bouncing between walls at random. A contained work area keeps the soot where you can manage it.
Read the Surface Before You Touch It
Before the sponge goes anywhere, figure out what you're actually cleaning.
You could be facing:
Flat painted walls
Gloss or semi-gloss paint
Wallpaper
Timber panelling
Ceilings
Other decorative finishes
Each of these can behave differently under a sponge.
A technique that glides across one painted wall might mark or dull another.
Not sure what you're dealing with? Try the sponge somewhere out of sight first. That's doubly true for delicate finishes and older decorative surfaces, which are the ones most likely to surprise you.
Never Skip the Test Patch
Pick a small, hidden spot.
Work it gently with the sponge and watch what the surface does.
You're checking for:
Soot lifting cleanly
Smearing
Colour coming off onto the sponge
Any shift in the finish
Signs of damage
If the patch comes up clean, you're clear to move into the visible areas.
If something looks off, stop. More pressure rarely rescues a bad reaction — it usually deepens it.
Testing is the single easiest way for a beginner to keep a small job from becoming a repair job.
Keep It Dry for the First Pass
If there's one rule to burn into memory, it's this:
Don't wet the sponge out of habit before you start.
A quality smoke and soot sponge is engineered for dry use during that opening soot-removal stage.
Treat it like a wet sponge and you've fundamentally changed how it behaves.
Begin dry, as intended, and clear the loose surface residue first.
Only once you've seen what's left behind should you weigh up any further, wetter stages.
Go Light on the Pressure
Harder does not mean cleaner.
When a mark won't budge on the first pass, the natural reaction is to lean in and scrub. That's precisely when control slips away.
Do this instead:
Hold the sponge in a relaxed grip.
Keep the pressure light.
Move it steadily across the surface.
Check your progress often.
Picture the job as lifting residue off, not scouring a stain out.
The moment soot starts to smear, pause and rethink your approach rather than pushing through.
Work in One Consistent Direction
Scrubbing in random circles makes it genuinely hard to tell which patches you've already covered.
Structured strokes solve that.
A simple rhythm:
Begin at one edge of the affected area.
Make one gentle pass.
Shift over slightly.
Repeat.
Glance at the sponge between passes.
Moving methodically stops you re-wiping spots that are already cleaner — and makes it obvious how far you've come.
Break Big Areas Into Chunks
A large smoke-stained wall can feel like too much to take on at once.
So don't take it on at once.
Split it into sections you can actually manage.
Something like:
Upper left
Upper right
Centre
Lower left
Lower right
Finish one block before you touch the next.
Working this way keeps you in control and makes it far easier to spot whether your technique is doing what you want.
Keep an Eye on the Sponge Itself
The working face darkens as it fills with soot.
Don't tune that out.
Dragging a loaded, blackened face across the wall drops your cleaning power and starts smearing residue back on.
Check it often and rotate to a clean section as needed.
The goal never changes: keep pulling soot off the wall, not shuttling it back across.
Don't Chase Every Faint Shadow
A dry sponge is great at clearing loose surface residue — but it won't necessarily return a wall to factory condition in one go.
You might still be left looking at:
Faint discolouration
Staining soaked into the surface
Lingering smoke shadows
Uneven colour
Areas that'll need proper prep
Resist the urge to keep grinding away at a slight mark that won't lift.
Over-cleaning is how finishes get damaged.
Once the loose soot is gone, stop and take stock — the next move might be different cleaning, surface prep, or a call to a professional.
Mind the Ceilings
Smoke rises, so ceilings often carry residue even when the wall marks grab your attention first.
Look up and check.
If the ceiling needs work too, slow down and keep the sponge under control.
Overhead cleaning is awkward on the body — don't overreach or clamber onto wobbly furniture to get there. For anything more than a modest ceiling area, professional cleaning is usually the smarter call.
Take It Slow at Corners and Edges
Soot loves to pool around:
Ceiling lines
Corners
Window frames
Door frames
Decorative mouldings
These spots fight back because a big sponge face simply won't fit.
Don't jam a dirty sponge into a tight corner over and over.
Switch to a clean section and use small, deliberate movements. Detail work rewards patience far more than force.
What About Wallpaper?
Some dry sponges handle suitable wall coverings — but wallpaper is a wide, unpredictable category.
Older, delicate or textured papers can behave very differently from a tough painted wall.
Test first. Always.
If the paper starts to:
Lift
Discolour
Mark
Lose its texture
back off immediately.
For anything valuable or fragile, a professional opinion beats an experiment you can't undo.
Can You Use One on Painted Walls?
Painted walls are among the most common uses — but paint isn't one single thing.
Flat, matte, semi-gloss and gloss finishes each react differently during cleaning and any prep that follows.
That's why identifying the finish matters before you commit.
And if repainting is the plan, don't assume that lifting the visible soot means the wall is paint-ready. Leftover staining and the existing finish both shape how much prep you'll actually need.
When Should You Move to Further Cleaning?
After the dry pass, step back and take in the whole area.
Ask yourself:
Is the loose residue actually gone?
Is what's left a stain rather than sitting soot?
Is the surface still intact?
Did anything smear?
Does the wall need prep before anything else?
Don't start reaching for stronger cleaners just to wrap it up in one session.
Different surfaces call for different follow-ups. When you're not sure, advice from a professional beats escalating to harsher products and hoping the wall cooperates.
Habits Worth Avoiding
Most beginner headaches trace back to a handful of avoidable moves.
Don't Open With Heavy Scrubbing
You're lifting soot off, not driving it in.
Don't Reach for Water by Default
Start with the dry stage when the sponge is built for it.
Don't Ignore a Filthy Sponge Face
Rotate to a clean section the moment it loads up.
Don't Skip the Test
A hidden patch flags trouble before it reaches the main wall.
Don't Improvise With Random Chemicals
Mixing products you don't understand adds risk for no real gain.
Don't Keep Working a Surface That's Changing
If the finish is shifting, that's your cue to stop.
Where the Dry Sponge Fits in the Bigger Picture
A dry cleaning sponge is best understood as one stage in a process — not a cure-all for every kind of smoke damage.
Its strength is that early, dry-removal phase.
A sensible order of operations:
Assess the damage.
Confirm the area suits DIY cleaning.
Protect the surroundings.
Identify the material you're cleaning.
Test a small section.
Lift loose soot with controlled dry cleaning.
Inspect what remains.
Decide whether more cleaning, surface prep or professional restoration comes next.
That sequence hands beginners a clear path instead of pushing them into aggressive trial and error.
When to Stop and Bring in a Professional
DIY has a ceiling, and it's worth knowing where yours is.
Call in restoration specialists when:
A large area is contaminated
Several rooms are affected
There's been a significant fire
Building materials are damaged
The residue is oily or oddly sticky
You can't identify the source of the contamination
Electrical areas are in play
Smoke odour lingers throughout the property
Delicate or valuable surfaces are involved
Your test patch takes damage
You're unsure the area is even safe to work in
Professional cleaners and restorers can read the damage properly and match the treatment to the surface and the type of contamination in front of them.
Beginner Smoke Cleanup Checklist
Before you start, make sure you've:
Sized up the extent of the smoke damage
Confirmed the area is right for DIY cleaning
Protected nearby flooring and furniture
Identified the surface where you can
Tested a hidden spot
Started with a clean, dry sponge
Kept the pressure gentle, not aggressive
Worked in controlled sections
Checked the sponge regularly
Held off on moisture too early
Looked over nearby walls and ceilings
Stopped the moment a surface began to change
Reassessed once the dry residue was cleared
Run through that and your first attempt will be far more organised than most.
Frequently Asked Questions
Should I wet a dry cleaning sponge before using it?
If a sponge is made specifically for dry soot cleaning, follow its product directions rather than defaulting to how you'd use a wet kitchen sponge.
Should I scrub soot stains hard?
Hard scrubbing tends to spread fine residue around. Gentle, controlled passes are a much better starting point.
Will a dry sponge remove every smoke stain?
Not always. It's excellent at clearing loose surface soot, but set-in staining or heavier smoke damage can need extra prep or professional treatment.
Can I clean an entire smoke-damaged room on my own?
It depends on how bad it is. Large-scale contamination, damaged building materials or unidentified residues are better handed to restoration professionals.
Should I repaint as soon as the soot is off?
Not automatically. The condition of the surface underneath and the type of paint finish both need weighing up before you repaint.
Final Thoughts
Once you understand what the tool is for, dry-sponge smoke cleanup stops feeling intimidating.
The defining beginner mistake is treating soot like ordinary household grime.
Skip the reflex to wet-and-scrub. Protect the room, test the surface, work with a clean dry sponge, and keep your movements light and consistent.
Watch the sponge as it loads up, and never keep wiping with a face that's already caked in residue.
And above all, recognise the point where the job outgrows simple surface cleaning.
Light soot usually yields to a patient, methodical approach. Extensive smoke or fire damage deserves a professional's eye.
The best smoke cleanup isn't the one that clears every mark fastest. It's the one that lifts the contamination while leaving the surface beneath it intact.