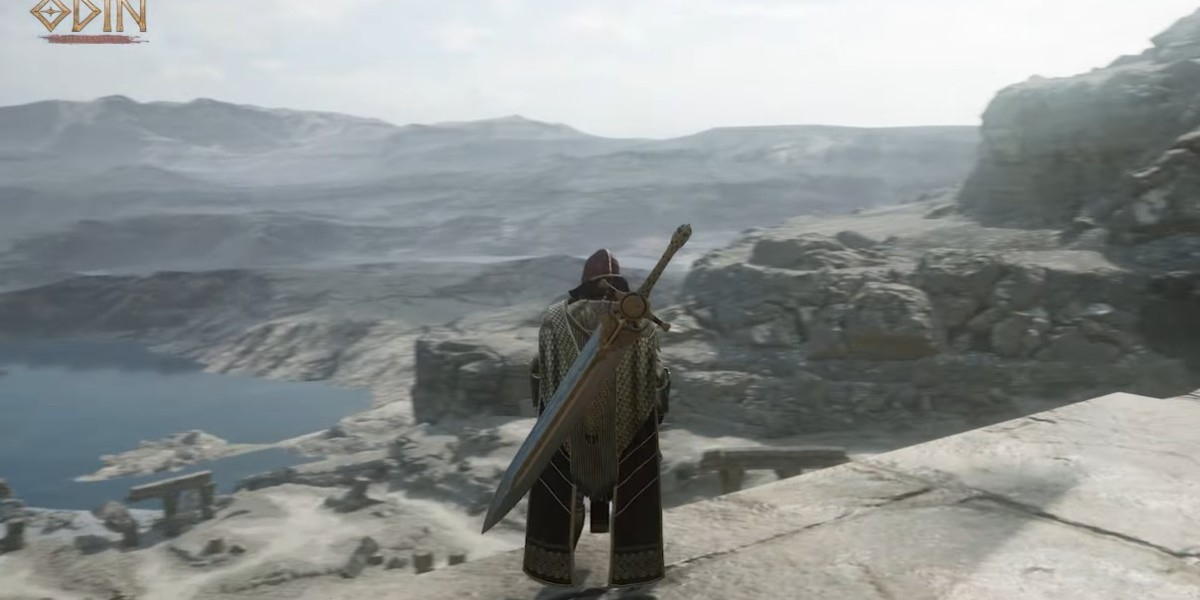
In the vast and visually stunning world of Odin: Valhalla Rising, character customization plays a vital role in defining a player’s unique identity. While combat prowess, strategic mastery, and gear optimization are essential for success on the battlefield, cosmetic customization allows players to express their personality and stand out in the ever-growing community. Among the most exciting features for personalization is the Skin Dye system, a mechanic that lets players modify the colors of their purchased limited-edition skins. In this article, we will provide an in-depth guide to understanding, using, and maximizing the Dye Skin feature in Odin: Valhalla Rising.
What is the Dye Skin System?
The Dye Skin system allows players to alter the color palette of their purchased limited-edition skins. Unlike standard skins or outfits that come with fixed colors, dyeing introduces an element of personalization, enabling players to match their in-game appearance to their own aesthetic preferences. Whether you prefer bold, eye-catching shades or subtle, Odin Valhalla Rising Diamonds, dyeing ensures your character reflects your personality.
This system can be applied to two main components of the skin:
Helmet Parts – Helmets often have multiple sections (A/B) that can be dyed independently or together, depending on the skin design.
Outfit Parts – The main body of your character’s skin, also divided into A/B sections, is fully customizable with dye.
It's important to note that some skins contain sections that cannot be dyed. For example, the Sorceress Newcomer Look has a Helmet B part that remains fixed in color even after using the dye system. These exceptions are rare but are designed to preserve the thematic essence of the skin.
Why You Should Dye Your Skins
For players who have invested in limited-edition outfits, dyeing is not just an aesthetic choice—it’s an opportunity to make your purchase truly yours. A purchased skin may be rare, but without customization, it is indistinguishable from what other players may own. Dyeing allows you to:
Express individuality by selecting unique color combinations.
Match your outfit and helmet colors to your preferred in-game persona.
Stand out in social hubs, guild events, and PvP encounters.
Refresh older skins, making them feel new without buying additional content.
Whether your goal is subtle elegance or bold intimidation, dyeing elevates the visual appeal of your limited-edition skins and makes every appearance memorable.
How to Enter the Dye Skin Screen
Before diving into the intricacies of dyeing, you first need to locate the correct interface in-game. Fortunately, Odin: Valhalla Rising makes this process intuitive. Follow these steps:
Open the Menu – Tap the menu icon (三) located at the top-right corner of your screen.
Enter the Avatar Tab – From the menu, select [Avatar], which opens the tab containing all customization options.
Access Skin Dye – Navigate to [Skin] → [Purchased Limited-edition Skins] → [Skin Dye Button]. This will take you directly to the dye interface where you can begin customizing your skins.
By following this path, you can easily access the skins you own and explore the full range of dyeing options available for each outfit and helmet.
Understanding Skin Dye Parts
The dye system separates skins into multiple parts to allow detailed customization. Each skin is divided into Helmet and Outfit parts, with further subdivisions labeled A and B. This system ensures that players can target specific areas of the skin for color changes, rather than applying a blanket color that may clash with other elements.
Helmet Parts (A/B) – Typically includes the main helmet and accent areas. Dyeing these parts can drastically alter the overall look of the headgear.
Outfit Parts (A/B) – Covers the character’s body armor, robes, or clothing layers. Changes here are highly visible and define the skin’s primary color identity.
To select which part you want to dye, simply tap the color icon associated with that section. A highlight or tooltip will indicate which area of the skin is affected. Players can experiment with multiple combinations to find the perfect synergy between helmet and outfit colors.
Tip: Some skins have non-dyeable sections to maintain design integrity. Always check which parts are editable before committing resources.
Previewing Your Dye Choices
One of the most convenient features of the Dye Skin system is the Preview Mode. This allows you to test color combinations before spending valuable currency. Here’s how it works:
Tap the Preview Button – On the dyeing screen, select the Preview option.
Choose Colors – You can select from the available color palette for each part of your helmet and outfit.
Visualize Combinations – The preview window shows how your choices will look in-game, allowing you to experiment without risk.
It’s crucial to remember that preview selections are temporary. If you reset the preview or exit the screen without confirming, all color selections will be cleared. This encourages experimentation but also requires a degree of decision-making to ensure your final choice reflects your intended aesthetic.
Pro Tip: Use preview mode to test bold combinations first. Once you’ve found a combination that works, you can commit to dyeing with confidence.
The Dye Skin Process
Once you’re satisfied with your color choices, the actual dyeing process is straightforward but comes with certain requirements:
Currency Required: Dyeing consumes diamonds, the premium currency in Odin: Valhalla Rising. The exact cost depends on whether you are dyeing one part or both simultaneously.
Simultaneous Dyeing: Both the helmet and outfit parts (A and B) are dyed at the same time, based on predetermined probabilities for each color. This means there is an element of chance involved, so repeated attempts may be necessary to achieve your perfect shade.
Probability System: Dyeing does not guarantee a specific color. Each color has a predefined chance of appearing when applied, adding a layer of excitement and unpredictability to the process.
Strategy Note: Because dyeing is probabilistic, it may take several attempts to achieve rare or highly desirable color outcomes. Plan your diamond usage carefully to maximize value.
Dye Reset: A Safety Net
Mistakes happen, and not every dyeing attempt results in the perfect look. Fortunately, the game provides a Dye Reset option:
Cost: Resetting consumes gold, the standard in-game currency, making it accessible to most players.
Function: Pressing the reset button clears all dye colors applied to your skin and restores it to its default appearance.
Usage: Dye Reset is ideal for players who want to start fresh after experimenting or who are unhappy with the results of probabilistic dyeing.
This feature ensures that dyeing is low-risk in the long term, allowing players to experiment freely and find the most visually appealing combinations without permanently locking themselves into an unsatisfactory look.
Tips for Optimizing Your Dye Strategy
To make the most of the Dye Skin system, consider these strategies:
Plan Your Palette – Before spending diamonds, decide whether you want a cohesive theme or a high-contrast look.
Start with Preview – Always use the Preview function to visualize combinations and avoid wasted currency.
Focus on Rare Colors – If your goal is to achieve rare or limited colors, prioritize those during the dyeing process, as some may have significantly lower probabilities.
Experiment with Helmet and Outfit Separately – Although parts are dyed simultaneously, previewing them separately can help you identify which combinations are most harmonious.
Use Reset Strategically – Don’t be afraid to reset frequently. Gold is easier to obtain than diamonds, and resets allow for continued experimentation.
By applying these tactics, you can maximize the impact of your limited-edition skins and ensure your character stands out in the crowded world of Odin: Valhalla Rising.
The Social and Competitive Impact of Dyeing
Customization in Odin: Valhalla Rising is more than a vanity feature; it has real social and competitive value. Players with distinctive, personalized skins can gain recognition in the following ways:
Guild Events: Unique appearances make it easier to identify leaders or key members in coordinated guild activities.
PvP Battles: Standing out on the battlefield can create intimidation or highlight skill, drawing attention to your achievements.
Social Hubs: In areas where players gather, custom skins can become conversation starters and a source of in-game prestige.
By using the Dye Skin system effectively, players transform a purchased outfit from a simple cosmetic item into a symbol of personal identity and status.
Future Considerations
As Odin: Valhalla Rising continues to evolve, the Dye Skin system may expand with additional features:
More Color Palettes: Future updates could introduce seasonal or event-specific colors, increasing customization options.
Special Effects: Beyond color, new dye options might include glowing patterns or gradient transitions.
Enhanced Probability Control: Players may eventually gain more influence over probabilistic outcomes, reducing reliance on repeated attempts.
For now, the system offers a robust and engaging way to personalize limited-edition skins while maintaining balance in the game economy.
Conclusion
The Dye Skin system in Odin: Valhalla Rising exemplifies how cosmetic customization can elevate player engagement, offering both creative freedom and strategic depth. By understanding the interface, using preview features, managing currency wisely, and experimenting with combinations buy Odin Valhalla Rising Diamonds, players can transform their limited-edition skins into unique representations of themselves.
Whether you’re a veteran warrior seeking to assert your presence in PvP, a guild leader wanting to inspire your members, or simply a player who enjoys aesthetic creativity, the Dye Skin system provides the tools to make your character truly yours. Embrace the colors, explore the probabilities, and let your individuality shine in the mythic world of Odin: Valhalla Rising.